Friday, September 26, 2014

Thai One On


Thai cuisine is a simple yet clever combination of Eastern and Western influences harmoniously combining sour, sweet, salty, bitter and spicy flavors.  Thai food variesdepending upon the area or region of Thailand the dish originates from. These regions include the north, northeast, south and central. The north tends to be a little heavier handed with hot spices, while the south incorporates more curry and lemongrass flavors they picked up from their Indian neighbors.

Traditional Thai cookery involved stewing and baking, or grilling. However, with the migration of Chinese people into the area that is now Thailand, Burma and Vietnam, frying, stir-frying and deep-frying of food became more popular techniques, and to this day pad thai (fried noodles) and khao pad (fried rice) remain classic Thai dishes. 

There's a quick history lesson so when you try my Thai inspired recipe this week you'll appreciate the flavors even more!

Faux Pad Thai
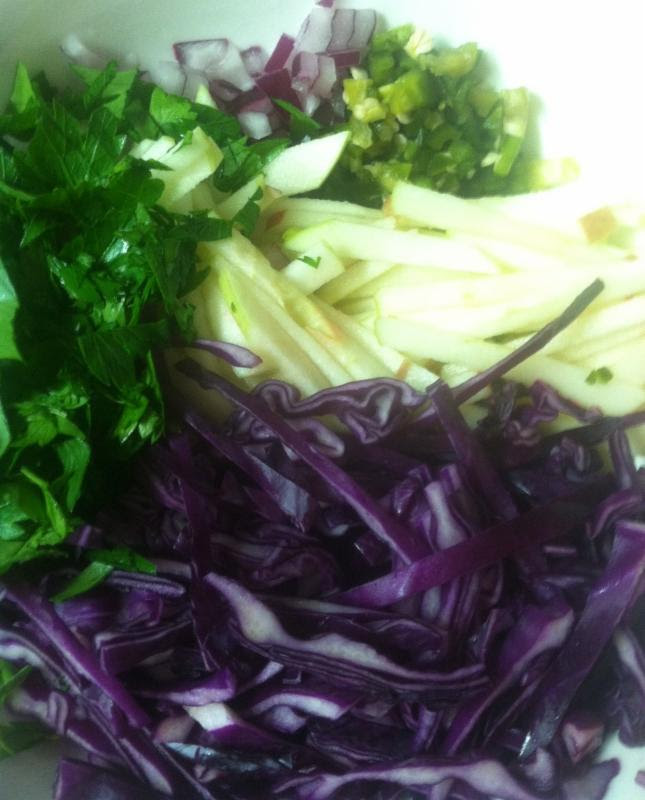
I wanted to try my hand at creating a healthier version of traditional pad thai, which is why I call my recipe this week faux pad thai. It still features rice noodles, created from rice flour, but I added a few more vegetables and cut down on the protein from eggs and tofu. I love the combination of grilled food with a spicy complimenting dish. I hope you enjoy this dish as much as I did and yes, it does taste delish cold, although I wouldn't recommend it for breakfast.


Ingredients: 
-2 leg quarters of bone-in chicken
-1 TBSP light brown sugar
-1 TBSP rice vinegar plus 1 TBSP water
-2 radish, thinly sliced
-½ cup vinegar
-1 TBSP kosher salt
-1/2 pound dried rice noodles
-3 tablespoons vegetable oil
-2 cloves garlic, minced
-4 cups Bok Choy, chopped
-1 TBSP soy sauce
-1 TBSP fish sauce
-1 TBSP Sambal Oelek
-1 cup bean sprouts, rinsed and drained
-3 scallions, sliced
-½ cup roasted peanuts
-4 TBSP tablespoons cilantro leaves (optional)
-1 lime, cut into small wedges

 
Directions: 
Place chicken in a bowl, add the sugar and rice vinegar mixture and toss to coat. Heat grill and cook thoroughly.

Add the radishes to the kosher salt and vinegar inside a glass jar or bowl. Cover and allow pickling for 30 minutes.

Once the chicken has begun grilling, soak the rice noodles in very warm water for 20 minutes.

When the chicken is cooked, place a large skillet over high heat.  Add about 1 1/2 tablespoons of the oil to the pan. When the oil is hot but not smoking, add the garlic and stir-fry briefly just until it begins to change color, about 15 seconds. Add the bok choy and cook for 5 minutes, stirring frequently. Press the vegetables to the side of the pan and add the remaining oil to the skillet. Toss in the drained rice noodles, soy sauce, fish sauce and Sambal Oelek. (Note: this can be found in most grocery's Asian food aisle and is simply chilies to give a dish heat without altering the flavors in the dish like using Sriracha, its chili sauce cousin).  Briefly stir fry for one minute or less to combine the noodles and vegetables.

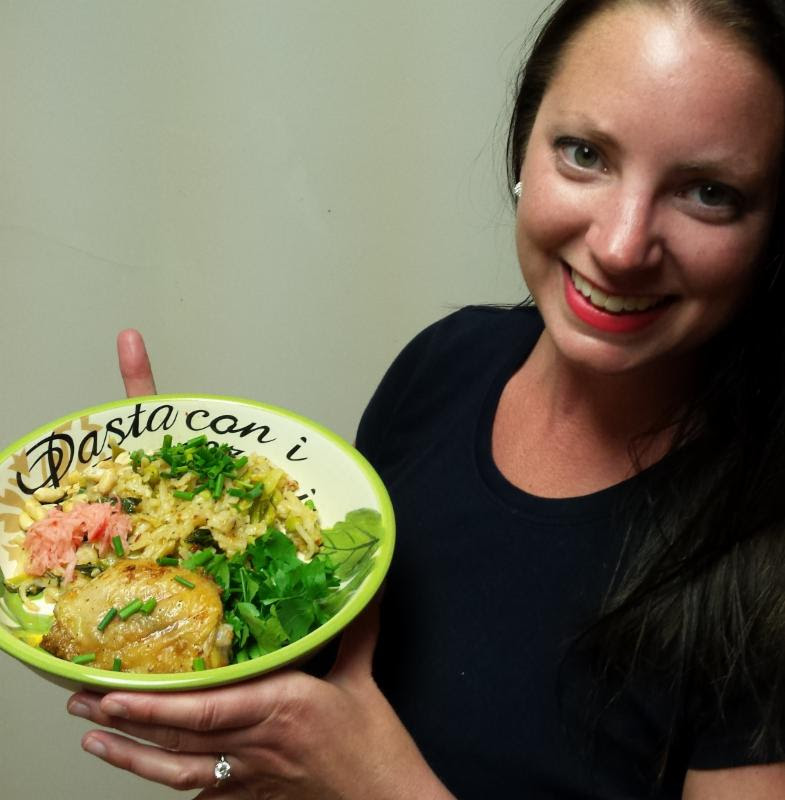
In a shallow serving bowl, plate a serving of noodles. Top with bean sprouts, scallions, roasted peanuts, cilantro leaves and pickled radish. Squeeze a lime wedge over the entire mixture and serve with a piece of grilled chicken. Serves 4. 

Monday, September 22, 2014

Apple Slaw with Black Beans and Rice


Slaw has a negative connotation due in part to its most popular version, coleslaw made with tons of mayonnaise. It doesn't have to be! I love slaw's ability to combine cabbage with the flavors of your choosing and then meld together creating a wonderful addition or side to most dinners.

Try your hand at unique combinations for slaw or try one of these:

Serve with seared tuna
-Napa cabbage, sesame seeds, Sriracha, shredded carrots and sesame oil

Serve with grilled chicken:
-Green cabbage, lemon zest, juice of one lemon, baby greens from bok choy, kale, etc. and pine nuts

Top Fish Tacos:
-Green and red cabbage, Wasabi paste, lemon juice, cumin powder and Greek yogurt 
This version of slaw features apples, sweet red onion, spicy pickled jalapeños and fresh lime juice. The crunchy cabbage and snappy apple work well to balance out the warmth of black beans and rice.


Apple Slaw with Black Beans and Rice

Ingredients:
-1 cup of julienned apple
-1 cup finely shredded red cabbage
-1/2 cup chopped cilantro, divided
-1/3 cup finely chopped red onion, divided
-1 fresh lime, juiced
-2 TBSP pickled jalapeños, chopped
-2 tablespoons vegetable oil
-3 garlic cloves, minced
-1 1/2 teaspoons chili powder
-1 teaspoon ground coriander
-3/4 teaspoon ground cumin
-2 cups low-salt chicken broth
-1 15-ounce can black beans, rinsed and drained
-Kosher salt and freshly ground black pepper
-2 cups cooked brown rice
-1 lb. cooked chicken, shredded 
-4-6 lime wedges

Directions:
Cut slices of the apple around the core, leaving a rectangle shaped core. Lay the flat edge of the apple down on a board and cut horizontally. Flip the board 180 degrees and cut thin sticks out of the apple. Combine apple, cabbage, 1/4 cup cilantro, 2 tablespoons onion, jalapenos and lime juice in a small bowl; toss to coat. Set apple slaw aside.

Combine remaining onion and oil in a large skillet. Cook over medium heat, stirring often, until completely softened, 6-7 minutes. Add garlic and next 3 ingredients; stir constantly for 2 minutes. Stir in broth and beans; bring to a boil. Reduce heat to medium; simmer briskly, mashing some of the beans with the back of a spoon and stirring often, until sauce is thickened, 8-10 minutes. Season with salt, pepper, and more lime juice, if desired.

Divide rice and beans among plates. Top with some chicken and apple slaw. Garnish with remaining 1/4 cup cilantro and lime wedges. Serves 2.

Kelly Lake
Administration Director & Healthy Food Enthusiast 
Bay Athletic Club
Like me on Facebook 

Wednesday, September 10, 2014

Homemade Tomato Marinana Sauce


You might be asking, "Why would I need to make my own red marinara sauce...the stuff in the jar is fast and easy." Well, I would have to agree with you, but before you write this week's recipe off, allow me to make a case for the ease and superiority of homemade sauce.
 
With mainly pantry items, this sauce can come together in 20 minutes. Plus, imagine how good you will feel to serve your family homemade sauce, even if you are not the world's craftiest cook. Building on that thought; why not get your family to help you with the sauce?  Watching is primarily how children learn how to cook and tasking them with appropriate work will jettison their progress. Have them stir the sauce if you are comfortable having them around a hot stove, or have the younger ones prep the herbs by washing, drying and tearing the basil into small pieces or adding the ingredients to the pot with your help. What little one wouldn't love squishing a tomato in their bare hand?

So, yes, this recipe is not as easy as opening a jar of sauce, but, I'm guessing you'll feel the experience well outweighs the slight time advantage of doing so. Twenty minutes with your family in the kitchen to create a meal counts as solid quality time to me. So, let's get you started. 

 
 Homemade Pantry Marinara Sauce

Ingredients:
-1 tablespoon olive oil
-1 small yellow onion, finely diced
-2 to 3 cloves garlic, minced
-1 (28-ounce) can whole peeled tomatoes
-1 bay leaf
-1/4 teaspoon salt
-1 sprig of fresh Thyme
-½ cup of sliced fresh basil
-Parmesan cheese, to garnish, optional
-Cooked pasta, to serve ( or make zucchini ribbons)

Directions:
Warm 1 tablespoon of olive oil over medium-high heat. Add the onions and sauté until softened and translucent, 5 to 7 minutes. Stir in the garlic and sauté until fragrant, about 30 seconds.


Add the tomatoes and their juices to the pan with the onions. Crush the tomatoes in your hand as you add them, or smash them against the sides of the pan with your spatula. Add the bay leaf and thyme.

Simmer for about 20 minutes: Bring the sauce to a rapid simmer, then lower the heat to medium-low to maintain a gentle simmer. Continue simmering until the sauce is slightly reduced and thickened, about 20 minutes. Be sure to stir the sauce every minute so it reduces and does not burn on the bottom.

While the sauce is simmering, cook the pasta or zucchini ribbons in a large pot of boiling, salted water. Drain the pasta, but do not rinse. To create zucchini ribbons, cut the ends of both sides of the zucchini, peel and cut long sections around the middle of the core to eliminate any seeds from your ribbons. Slice the zucchini into thin sections, lengthwise. Cook like pasta, but only for 2 to 3 minutes. Drain quickly and bath in an ice bath. Remove and place into a bowl.

Remove the bay leaf and thyme stems. Serve the sauce immediately over pasta with a sprinkle of parmesan cheese. Leftovers will keep refrigerated for about a week or can be frozen for up to 3 months.

Monday, September 8, 2014

We are What we Eat

We are what we eat.  If you put junk in your body you will feel tired, bloated and perhaps even pained.  I recently got a reminder of this when traveling downstate.

I was craving a coffee for our drive, but the local coffee shop was out of the way so we went through the drive-thru of a popular fast food chain.  I ordered a black coffee, but my husband was hungry so he ordered some chicken nuggets.  As soon as he was done eating he felt sick and developed a headache that ended up lasting for two days!

My husband and I rarely eat fast food so are bodies are not used to the processing agents they have in them.  His reaction was likely his body rejecting the unrecognized chemicals.  If you normally eat clean, you will feel it when you eat something processed or preserved with chemicals.

 The food you eat counts. Your body needs to know how to break it down. If you can't pronounce it, your body can't either. It knows what to do with an apple...I can't say the same thing for Dimethylpolysiloxane (listed ingredient for chicken nuggets)- used as an anti-foaming agent, this industrial chemical is typically used in caulking and sealants and comes with a list of safety concerns. 

Instead of chicken nuggets try these hand-held chicken tacos.  I promise, you can pronounce all the ingredients.
My Gift to You
This dish is a wonderful weeknight, on the go type of dish. The best part? These chicken tacos are good cold or warm. If you are looking for a quick dinner solution that is also easy, here it lies. When you have extra time in your week, grill the chicken and onion, get the toppings clean, chopped and ready to top a warm tortilla. You can make a whole family dinner or feed one throughout the week. Need to take it with you? Assemble, wrap in waxed paper or plastic wrap and go.

Grilled Chicken Tacos with Radish, Lime and Cilantro    

Ingredients:
-2 boneless, skinless chicken breasts
-1 TBSP ground cumin
-1 garlic clove, chopped
-1 tsp salt
-1 tsp black pepper
-1 TBSP oil
-1 Vidalia onion, cut into large slices
-2 to 3 radishes, thinly sliced
-1/3 cup cilantro leaves
-1 lime
-Salsa Verde (click for recipe)
-plain Greek yogurt for garnish (optional)
-4 whole wheat tortillas

Directions:
In a large bowl, toss the chicken, onion, garlic, oil and seasoning together. Allow to marinade for 30 minutes (at least) for best results.  Grill the chicken and onion on separate sides of your cook top until both are well done and slightly blackened in parts. Allow the chicken to cool for a couple minutes and then chop into medium pieces. Add to your warm tortilla and top with radishes, cilantro, a squirt of lime, salsa verde and Greek yogurt. Serves 2 adults. 

Thursday, September 4, 2014

Spice Up your Next Meal: Salsa Verde

Salsa verde is the way to do it. This easy to make sauce is a snap to bring together when friends are gathering around the grill or simply for a weeknight addition to taco night. It's less acidic than traditional red salsa, since there are no tomatoes, but packed with vitamins and minerals from the main ingredient, tomatillos. I've added flavor by charring the vegetables before simply pulsing them in a blender. Paired with cilantro and a fresh squeeze of lime juice, this quick and easy salsashould be the star of your next fiesta. Enjoy!

 1 lbs. green tomatillo
 2 jalapenos
 2 banana peppers
 1 TBSP olive oil
 1 tsp. black pepper
  1 garlic clove

 1 lime, juiced
 2 TBSP fresh cilantro, stems removed

Remove the husks from the tomatillo and rinse and scrub the sap from the flesh. Dry well and add to a bowl with the clean peppers, oil and pepper. Heat your grill to 500 degrees or higher and place the oiled veggies directly on the grill. Allow the flesh to blacken and then flip over. The peppers will cook first. When the skin of the peppers looks well done, remove from the grill and place in a brown paper bag. This will allow the skin to steam away from the flesh of the pepper and makes removal a cinch. The tomatillos will take about 15 minutes . You'll know they are ready when blackened on both sides, but still holding their shape. Remove and place in the oiled bowl and allow to cool for a few minutes while you prep the other ingredients. Add everything to the blender and pulse 5 times or until the mixture is consistent, but not homogenous.